

Pin Loom Weaving Galore!
oh look! another fiber craft!

As you may have noticed by now, my list of hobbies is overflowing with fiber-related crafts, but that has not stopped me from adding another to my repertoire. It can all be summarized by this amusing text post from Tumblr (see below) that outlines the fiber artist’s predicament:
 because that cool project requires it, then you see all the marvelous embroidery and you think why not? At a certain point you wonder, is it so hard to sew clothes? Maybe you could try, and you start thinking about that old sewing machine in the attics. Then you see a video of someone spinning wool and you feel your hands itching, but wool is so expensive how much does keeping alpacas costs, then")
Some escape this craft spiral, but I am not one of them. I hope never to progress to the alpaca-owning phase, but time will tell. I have resisted weaving for many years, simply because I don’t need another hobby. My mother loves weaving and provides many good reminders that there are financially accessible entry points to try it out. As a school art teacher, she has taught young children to weave with cardboard, yarn, and tapestry needles. She has created many beautiful bags and other projects with the same tools. The worry that I would need to spend money to start weaving has never been the hurdle for me. If I’m honest, I think it’s always been the setup and finishing that have deterred me. I am a knitter who procrastinates weaving in ends and sings praises to knitting in your ends as you go. For many fiber crafts, I love the journey. But the finishing touches? Not so much.
A few months ago, I saw an Instagram story recommending the Schacht Zoom Loom as a way to use up small handspun scraps. In the wake of Tour de Fleece (where spinners spin yarn while the cyclists ride through the Tour de France), this seemed like a great solution for all my random bits and bobs that didn’t necessarily fit together in yarn weight or style.
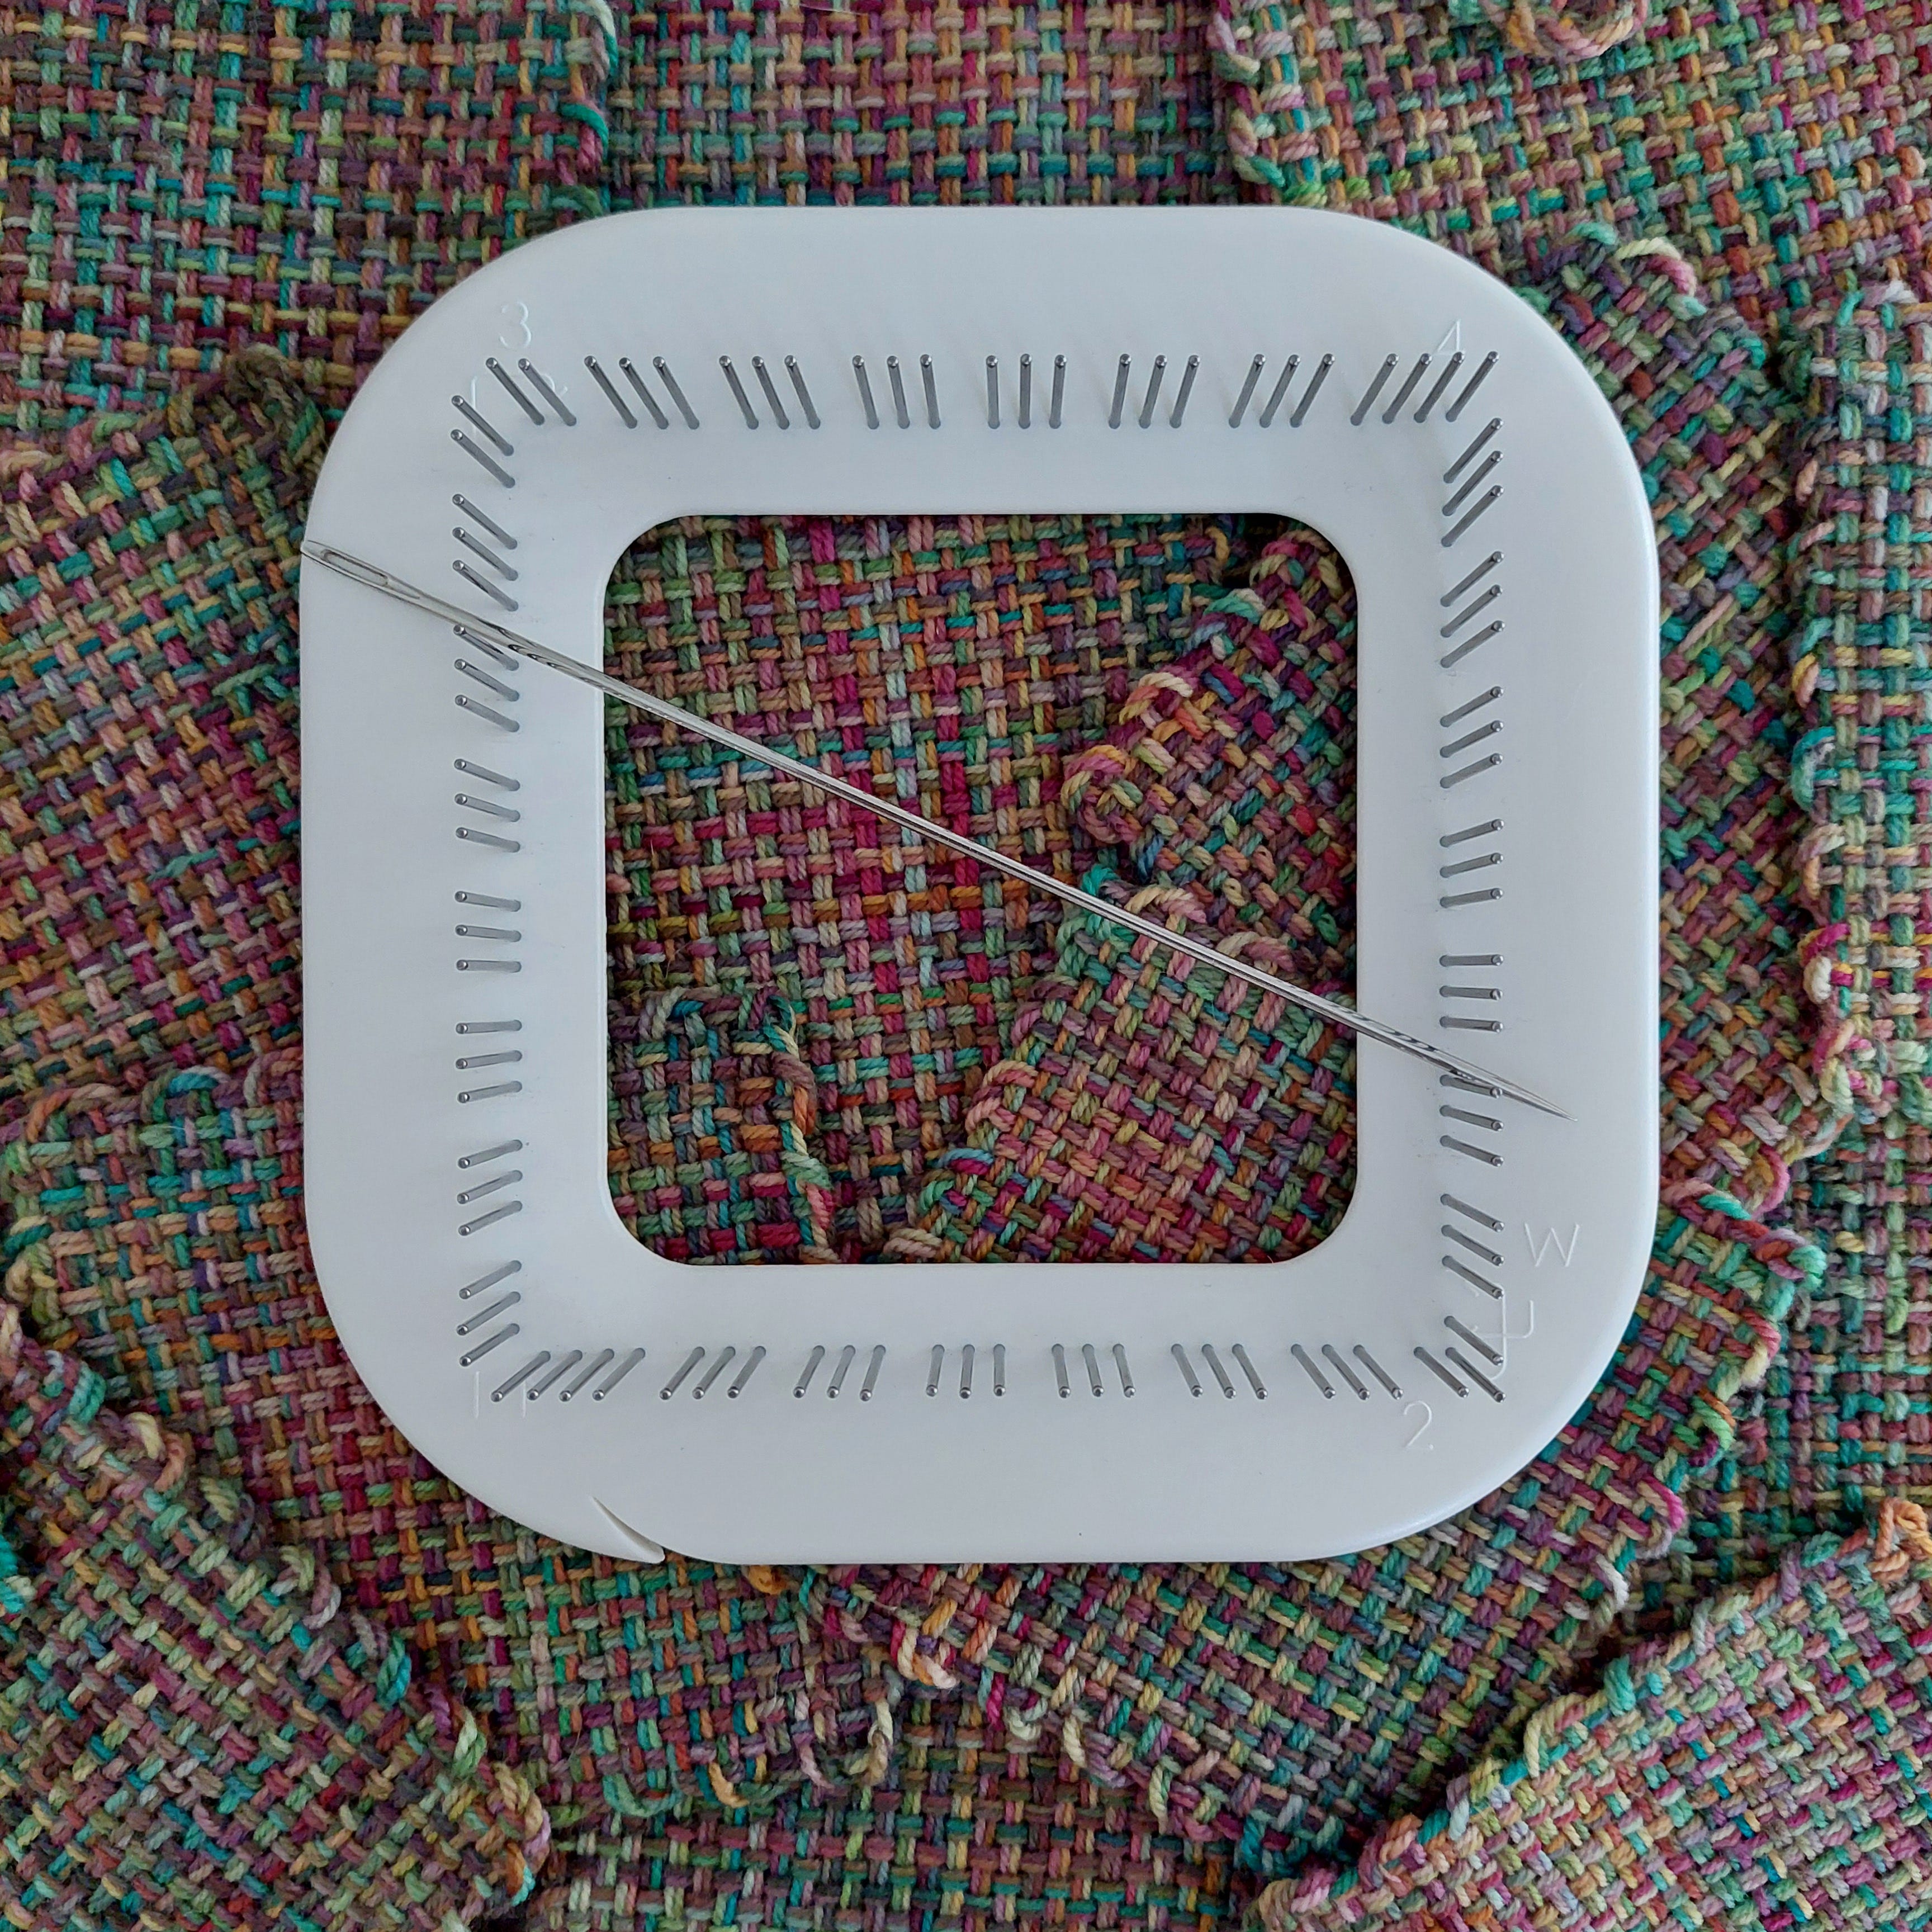
This style of loom is called a pin loom. The 3-pin design shown above was created for increased ease in weaving and popularized by the Weave-It Looms in the 1930s1. It seems that this style of weaving fell out of fashion after the 1960s. What I found most intriguing about the type of loom is that each square uses one continuous length of yarn (about 8 yards / 7.25 meters), meaning that there are only two ends to weave in. And once you’ve done that, you can pull it straight off the loom! Now that’s my kind of easy finish!
The setup is equally easy, in part because the Zoom Loom is only 4” x 4” (~10cm x 10 cm). To give you a very brief overview, you wrap the yarn one way, then perpendicular, and once again in the original direction. Now that I’ve made a good handful of squares, it takes less than five minutes for the initial setup.
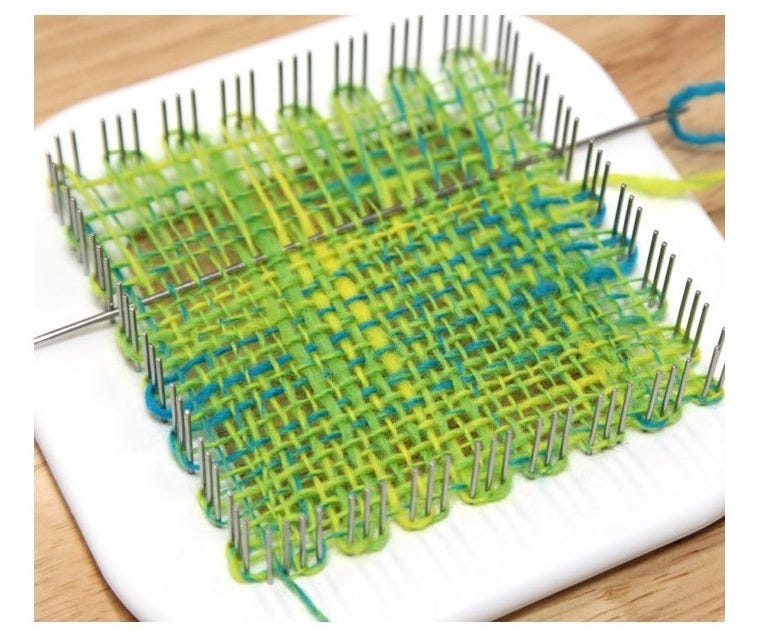
This technique means that half of the weft (horizontal strands) is already woven through the warp (vertical strands) when you begin weaving with the tapestry needle. It makes the weaving portion super quick, and I like to think that’s why it’s called the Zoom Loom! After some practice, I would say it takes less than thirty minutes for me to weave a square. Because it’s small and quick, the potential for portability is high. The next time I go on a road trip, I think this might be my go-to fiber craft! Although I’ll probably bring a pair of socks to knit too. Why not?
If you are curious about more specifics of how to use the Zoom Loom, the instruction manual is only two pages long and available for free. If you find a vintage Weave-It, the principle should be similar (if not the same). The Schacht Zoom Loom seems to be the only 3-pin style loom currently in production. I have also seen many interesting and achievable tutorials for making your own pin loom if you don’t want to buy one.

I began my adventures in weaving with leftover bits of handspun yarn, as planned. I concur with the original recommender that this is a great way to make use of scraps too short to be used for much else. After exhausting my current handspun scraps, I wanted to keep weaving. And so I started experimenting!
In keeping with my general theme of “using the yarn I already have”, I looked through my yarn for something with no set plans (or unsure ones) and might create a visually interesting project. Even with my experimental outlook, I’m a bit precious about yarn and want to use each bit wisely. I found this skein with no real plans and I had trouble envisioning as a finished object. It was a mystery skein I got a few years ago, and the quick, varied color changes gave me pause for any project other than socks. I have enough yarn that I’m excited to turn into socks that using this elsewhere wouldn’t do any damage.
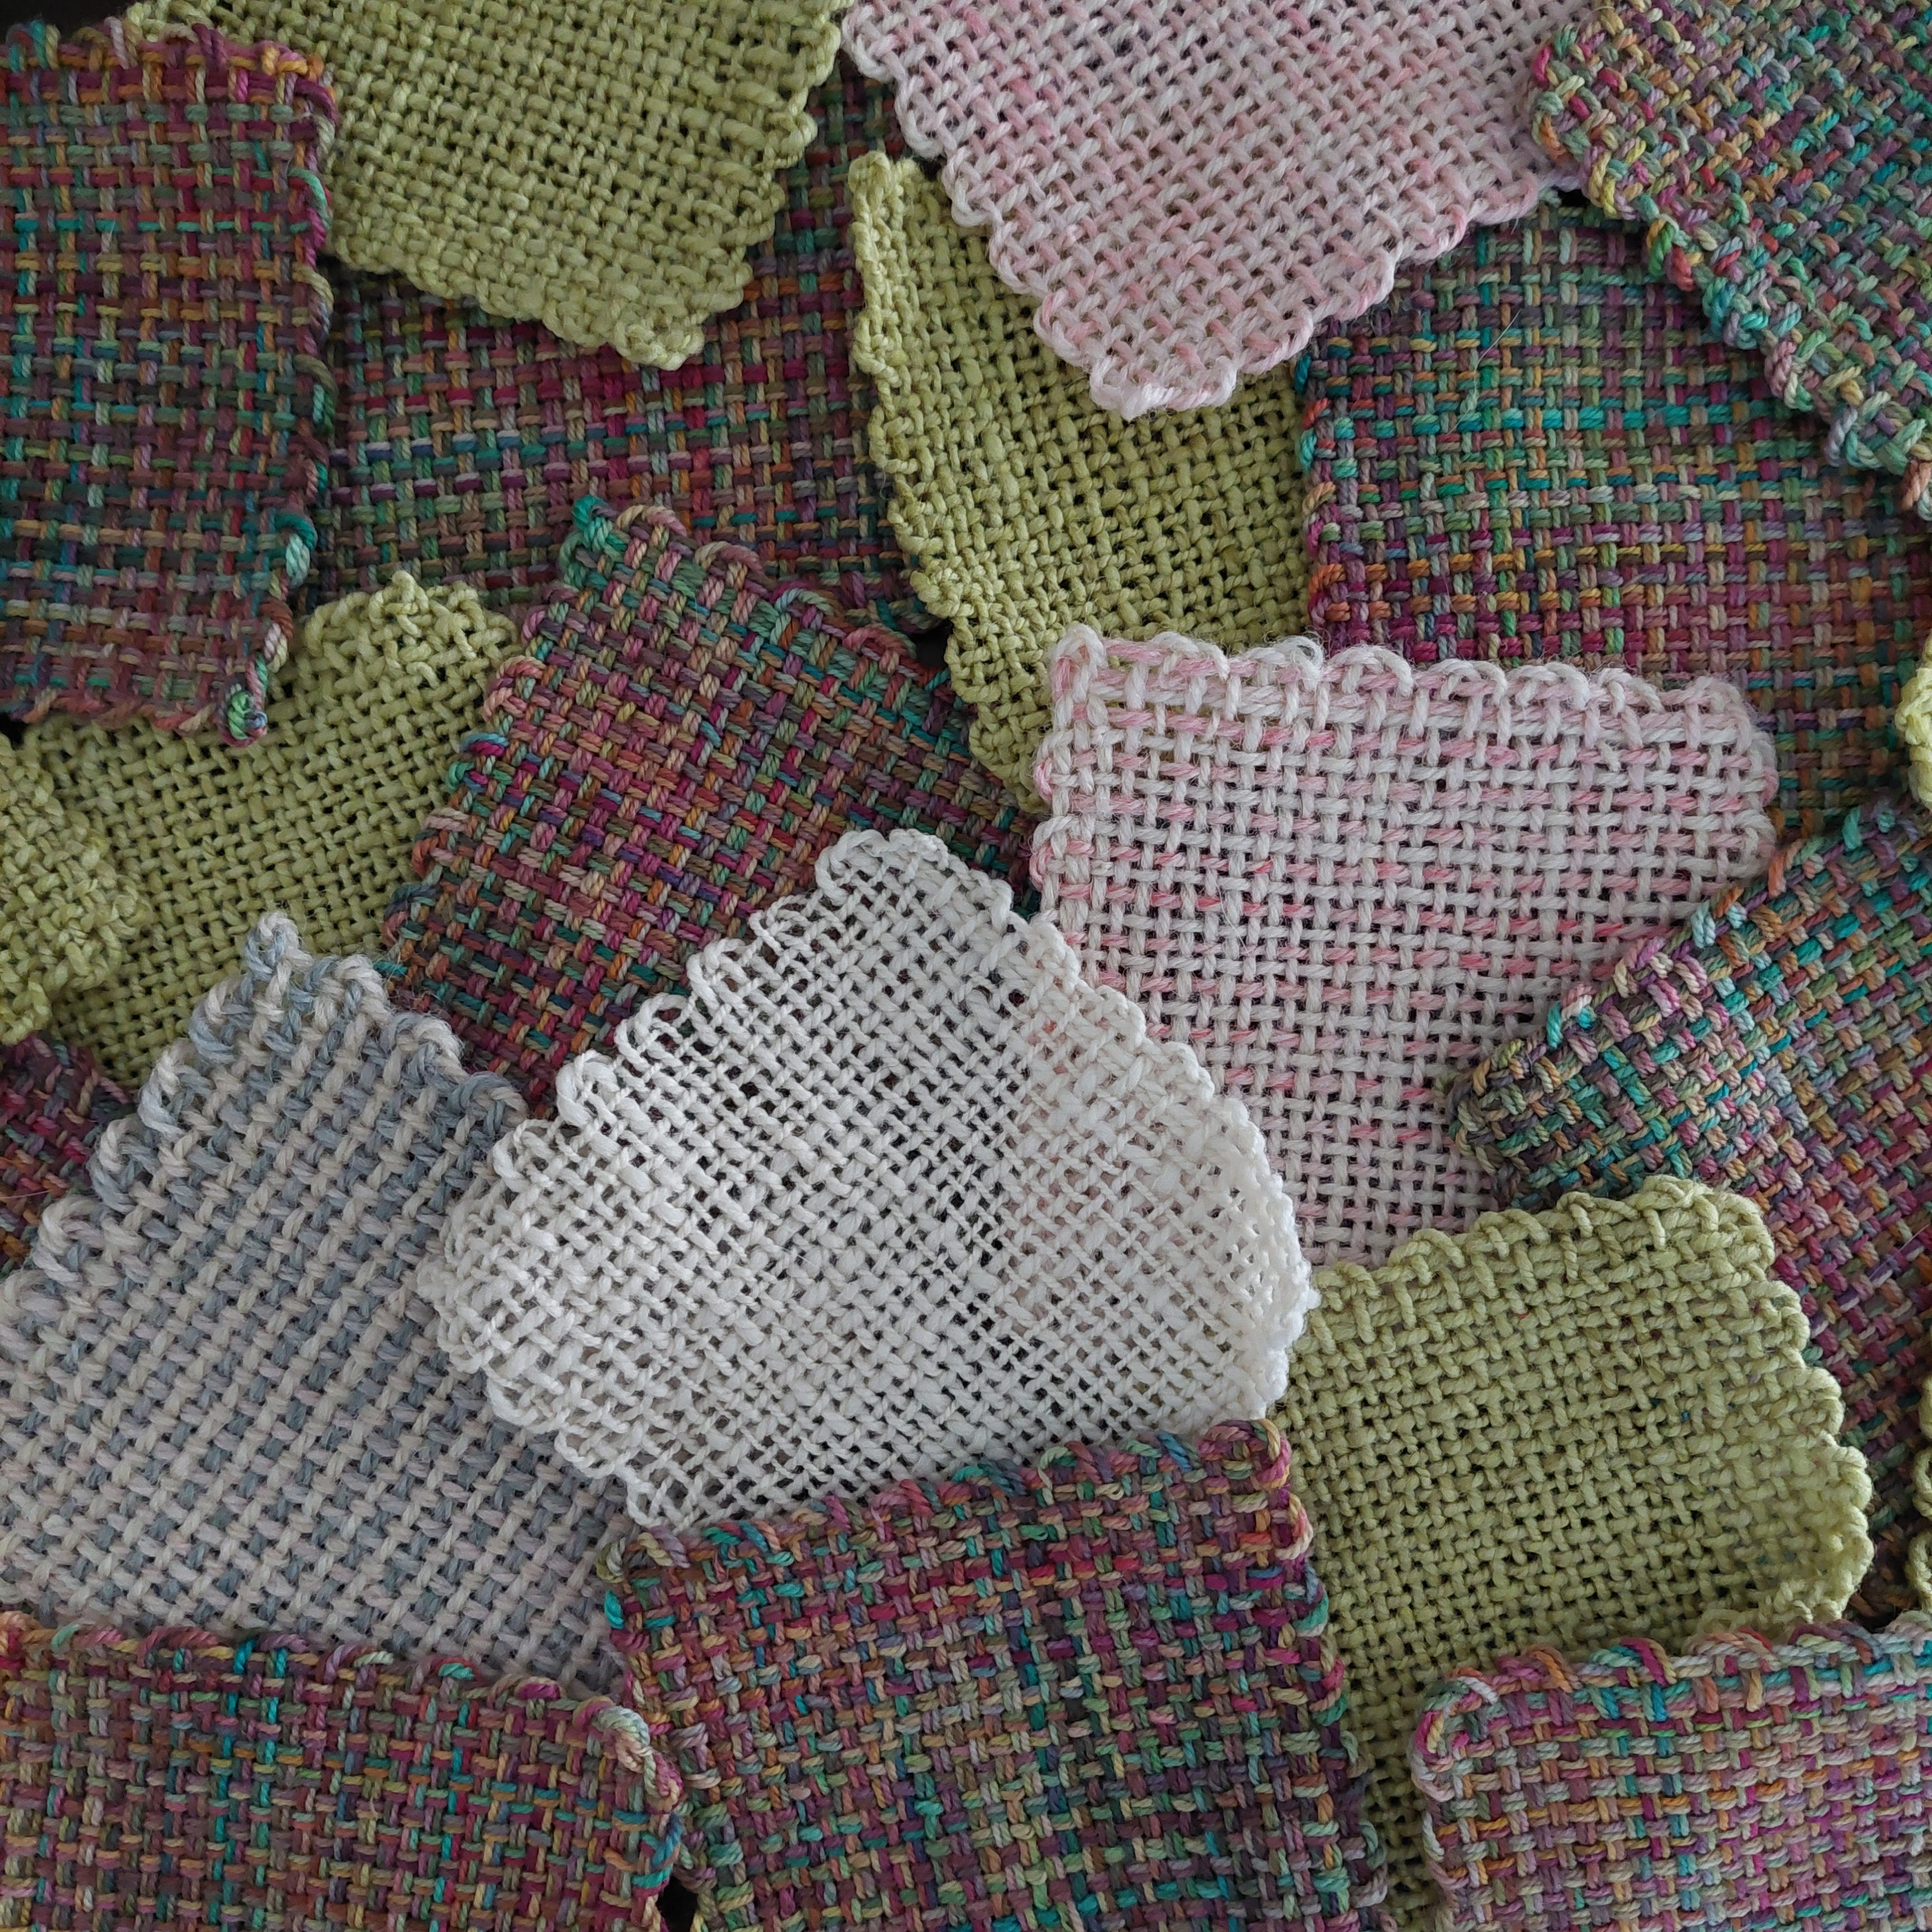
The woven squares I liked the most fabric-wise, were made with DK-weight yarn, so I decided to wind this fingering/sock-weight yarn double. The results are better than I could have ever imagined! By holding the yarn double with itself and the quick color changes, the wovan squares have an almost plaid look to them. All the colors melted together, and I no longer feel overwhelmed by their variety. I’m not sure what I will turn these into, but I now have another tool in my kit for using yarn I already have!


Pattern / Project Resources:
Little Looms Online Library (mix of free, requires a login, or requires subscription).
Little Looms Magazine — May be available through your local library
Projects and Tutorials from the Schacht Spindle Company.
eLoomaNation Projects — These are for a variety of pin loom sizes and brands, so it may require some sifting
Thank you for coming on this little weaving adventure! I am greatly enjoying this new craft! It’s been another reminder to think outside the box when using my art and craft supplies and to try new things. It’s also harder for my dog to grab the yarn and run off with it, like he does with my knitting and crochet, so there are a lot of wins here. Weaving is such an ancient art that there are so many techniques and ideas I’m excited to try. What have you been trying lately?


Trent, Jana. “Vintage Looms.” Little Looms at eLoomaNation, www.eloomanation.com/looms.php#:~:text=Weave%2DIt%20Looms%E2%84%A2%20were,over%20the%20next%20forty%20years. Accessed 1 Sept. 2025.
Love the colors of this woven gems!